

In Part 1, we covered the theory behind latte art and how to set yourself up for success. You don’t need fancy equipment – but you do need the right foundations. Whole milk will make things easier to start with, but with the right technique (and a bit of patience), you can get there with any choice of “the white stuff”.
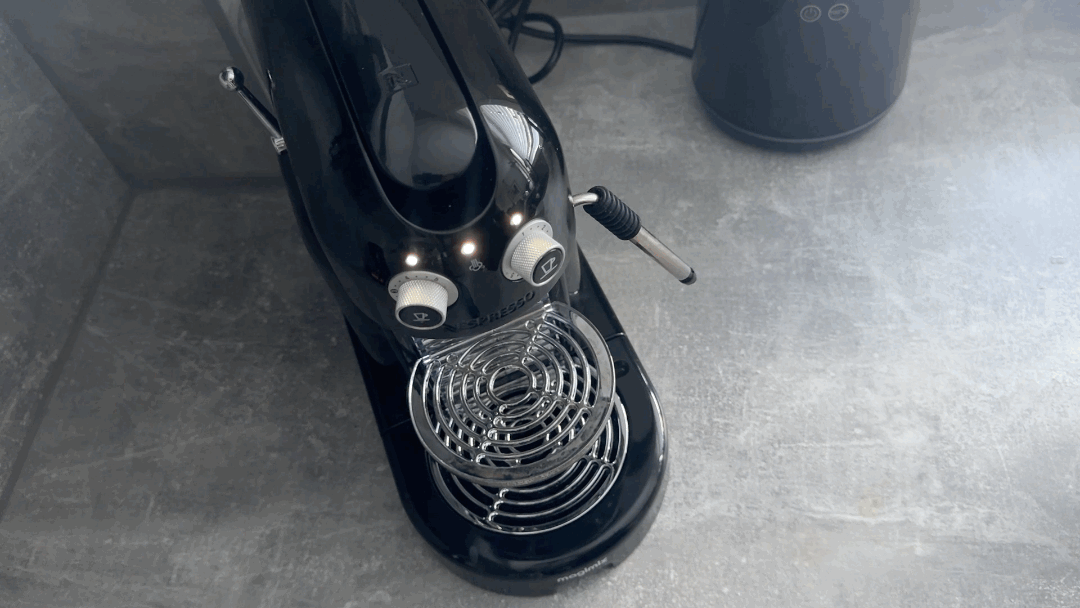
Step 1: Steam the milk properly
Always start with the milk.
Fresh espresso has a very short window where it’s at its best — so your steamed milk should be ready to pour as soon as the coffee is extracted.
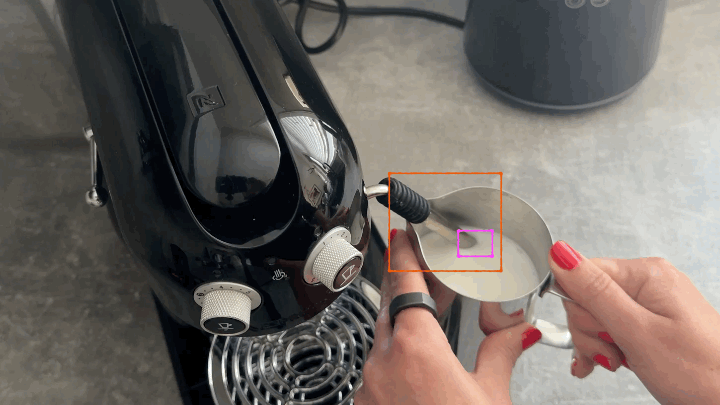
Fill your jug (with fresh, chilled milk) to just below the spout. Purge the steam wand into an empty cup until only steam comes out.
Place the steam wand tip just beneath the surface of the milk and turn it on. You’re listening for a gentle paper-tearing sound – not loud splashing or screeching. This introduces a small amount of air while beginning to form a vortex, integrating the foam into the milk.
As the milk expands, keep the wand tip just below the surface, maintaining that same consistent sound. If the wand rises above the surface, you’ll introduce too much air and create large, dry bubbles.
Here’s what you want to hear – note the change in tone as the milk heats up:
And here’s what you DON’T want to see or hear:

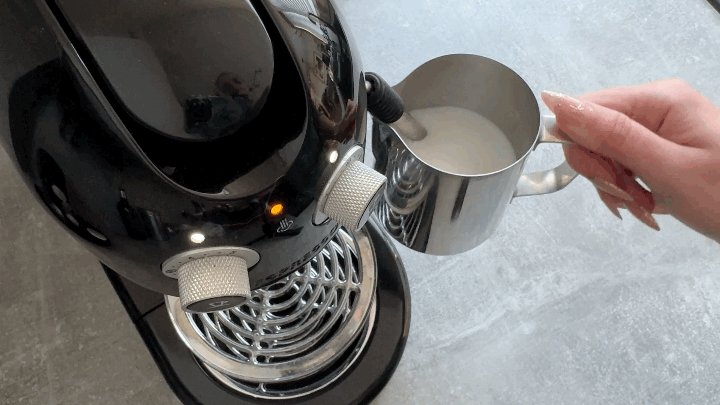
A simple way to stabilise your position is to rest the steaming wand against the inside of the jug’s spout, keeping it steady and preventing unwanted movement. Also note how the air element of the steaming wand is just visible below the surface of the milk, creating that vortex:
Stop steaming when the jug becomes too hot to comfortably hold for more than a second (around 60–65°C). You’ll also notice the sound deepen slightly as the milk heats.
Once finished, tap the jug gently on the counter and swirl it on a flat surface. This removes any remaining larger bubbles and integrates the texture.
You’re aiming for milk that looks smooth, glossy and uniform – like wet paint.
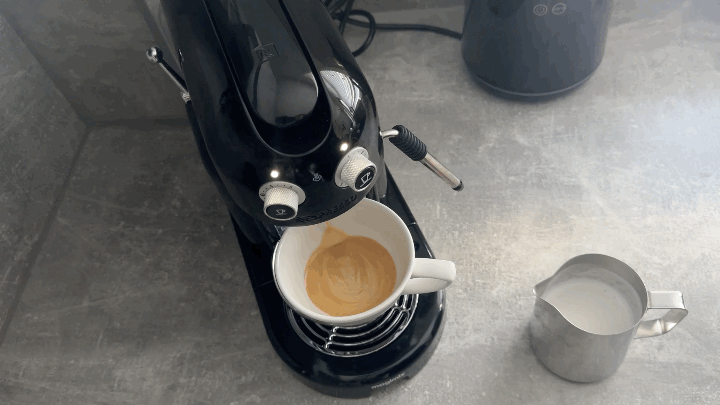
Step 2: Prepare the espresso
Now time to run the shot.
Use a wide cup and aim for a fresh espresso shot with a visible crema – this is what allows the milk to sit on the surface and create contrast.
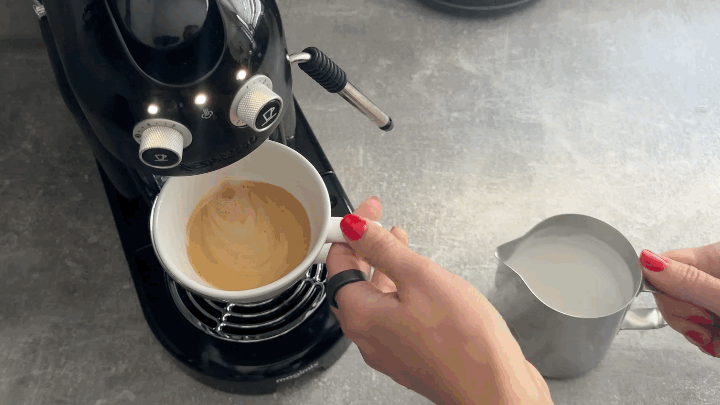
While your espresso is pouring, keep gently swirling the milk to maintain its texture. Once the shot is ready, give the cup a slight swirl to keep the crema fluid and evenly distributed.
Timing matters here. You want to pour while both the espresso and milk are still at their best – ideally within seconds of each other.
Step 3: The pour (unleash the artist within!)
This is where everything comes together.
Tilt your cup slightly, either by holding the handle or supporting it from underneath with your non-dominant hand. Begin pouring from a few centimetres above the cup in a thin, steady stream.
Start near the edge, then move into the centre – I like to do a couple or circles around the cup to even out the distribution. At first, the milk will sink beneath the surface, then you’ll see the first white shape appear as it rises back up. That’s your signal to begin drawing.
For a rosette, gently move the jug left and right across the centre of the cup, while also moving your hand back towards the other edge.
The key here is hand control: the movement should be horizontal only. Keep your wrist locked and let the sideways motion come from your forearm: think less “tennis swing” and more “scratching a scratch card”.
As the cup fills, you’ll see a zig-zag pattern form. Just before reaching the edge, lift the jug slightly and “cut” a line through the centre to create the final leaf shape.
If you have milk left, continue pouring into the “bottom” of your leaf – it will sink beneath the surface without disturbing the pattern.
Hesitation results in blobs – that’s why practice is essential to master the hand coordination and give you that fluid motion from confident moves.
Start simple: the heart
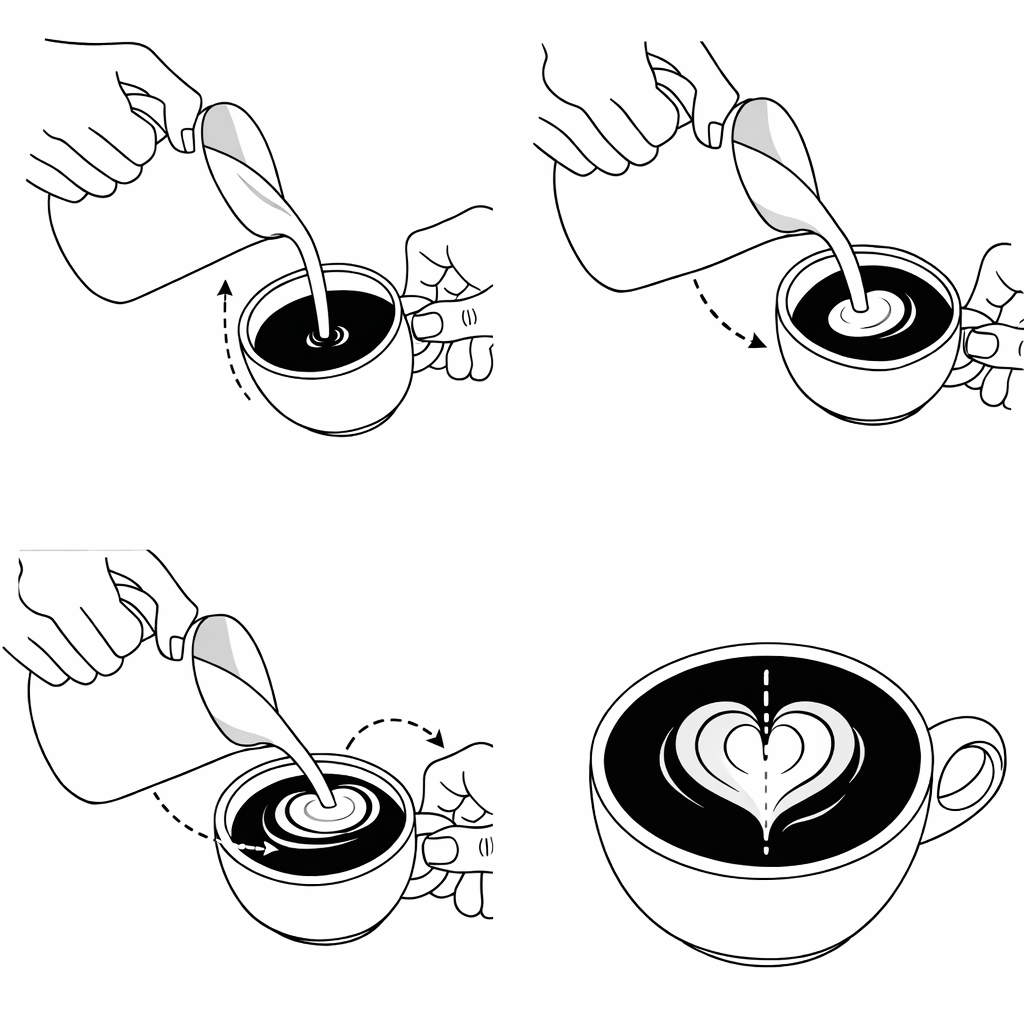
While the rosette is often the goal, most baristas start with a simpler shape — the heart.
Begin in the same way: pour from height, then lower the jug close to the surface once the cup starts filling. Hold your position steady over the centre of the cupand allow a white circle to form.
When the cup is nearly full, lift the jug slightly and cut a line through the centre, moving away from your pouring hand.
That’s your heart: simple, clean, and the foundation for more advanced patterns.
Cut yourself some slack!
Latte art is a skill built through repetition.
While this is a step-by-step guide, each stage develops independently… and at some point, it all clicks! The milk behaves as expected, your hands find their rhythm, your eye (and ear) learns the timing.
You don’t need a professional machine nor a perfect espresso. You need well-textured milk — and the willingness to practise.
Even now, after thousands of coffees, the process still feels quietly satisfying.
It’s a small act of craft in the middle of an ordinary day.
