


I’ve been meaning to write this post for a while, but the extra nudge came from a few colleagues who recently acquired bean-to-cup machines and shared they are working on their barista skills. So – what better time to share some of my own insights.
If you’ve been following me for a while (or dug into my blog), you may know about my previous career as a barista with a well-known high street chain — and if I add that I was a Coffee Master, that probably gives the game away. I remember when the Flat White was introduced. It filled us all with dread (though perhaps not quite as much as having to ask every customer for their name…). It looked like something you’d need years of training to master.
Not only did we all have to learn it — in my role, I was also entered into a district competition. Each store representative had to make four Flat Whites: the three standard milk variations plus soya (I’ll explain later why that was a challenge), all judged on latte art.
Let’s just say it was not my finest hour.
But perfectionism doesn’t take defeat lightly. I practised whenever I could; and, more importantly, started to understand what actually makes a good “latte artist”.
These days, I sometimes miss the rhythm and strategy behind the coffee bar: managing a long queue of drinks while aiming to deliver the perfect cup every time. But even without the black apron and the commercial machine, one thing I’ve kept is the ability to paint a decent rosette.
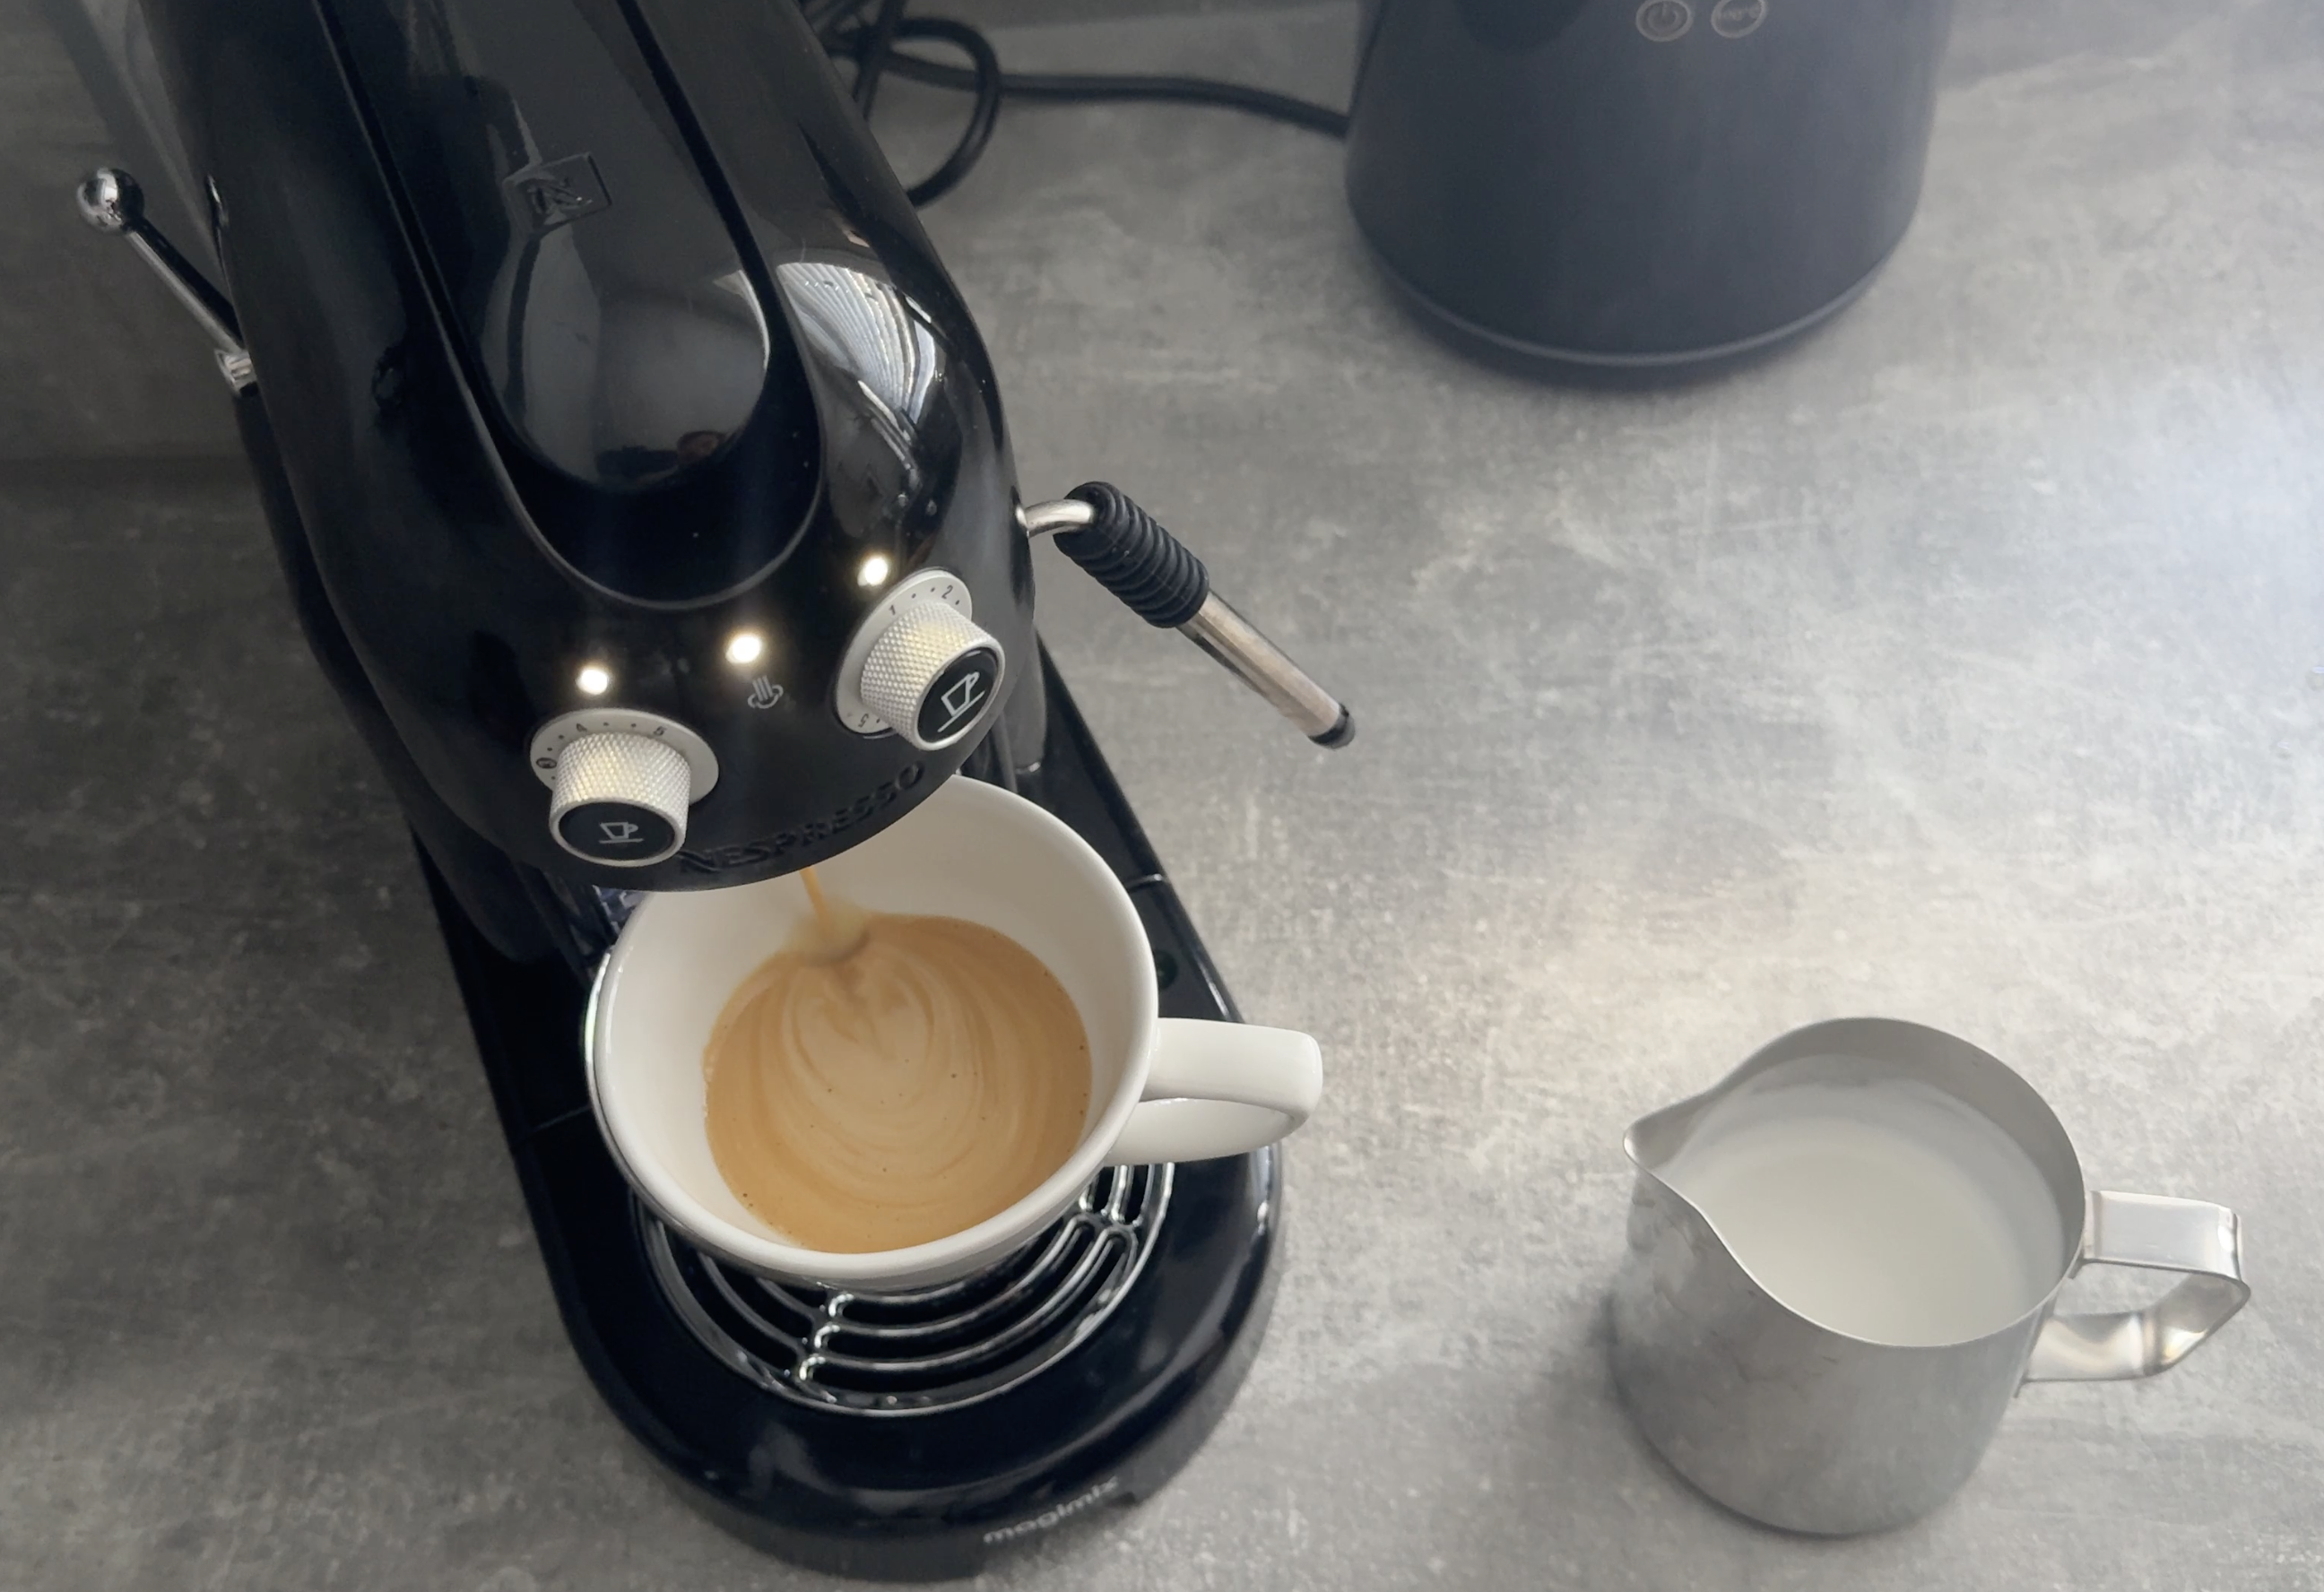
I don’t own a fancy setup, not even a bean-to-cup machine. My tool of choice is an old pod-powered Nespresso Maestria. And yet, that’s more than enough to create show-stopping results (even if the show is just your own kitchen).
In this two-part series, I’ll show you how.
In Part 1, we’ll cover the theory behind latte art. In Part 2, I’ll walk you through the process step-by-step.
Let’s dive in.
The key to unlocking latte art: the milk
In Italian, latte means milk, so in simplest terms, “latte art” it’s the visual result of a properly textured milk.
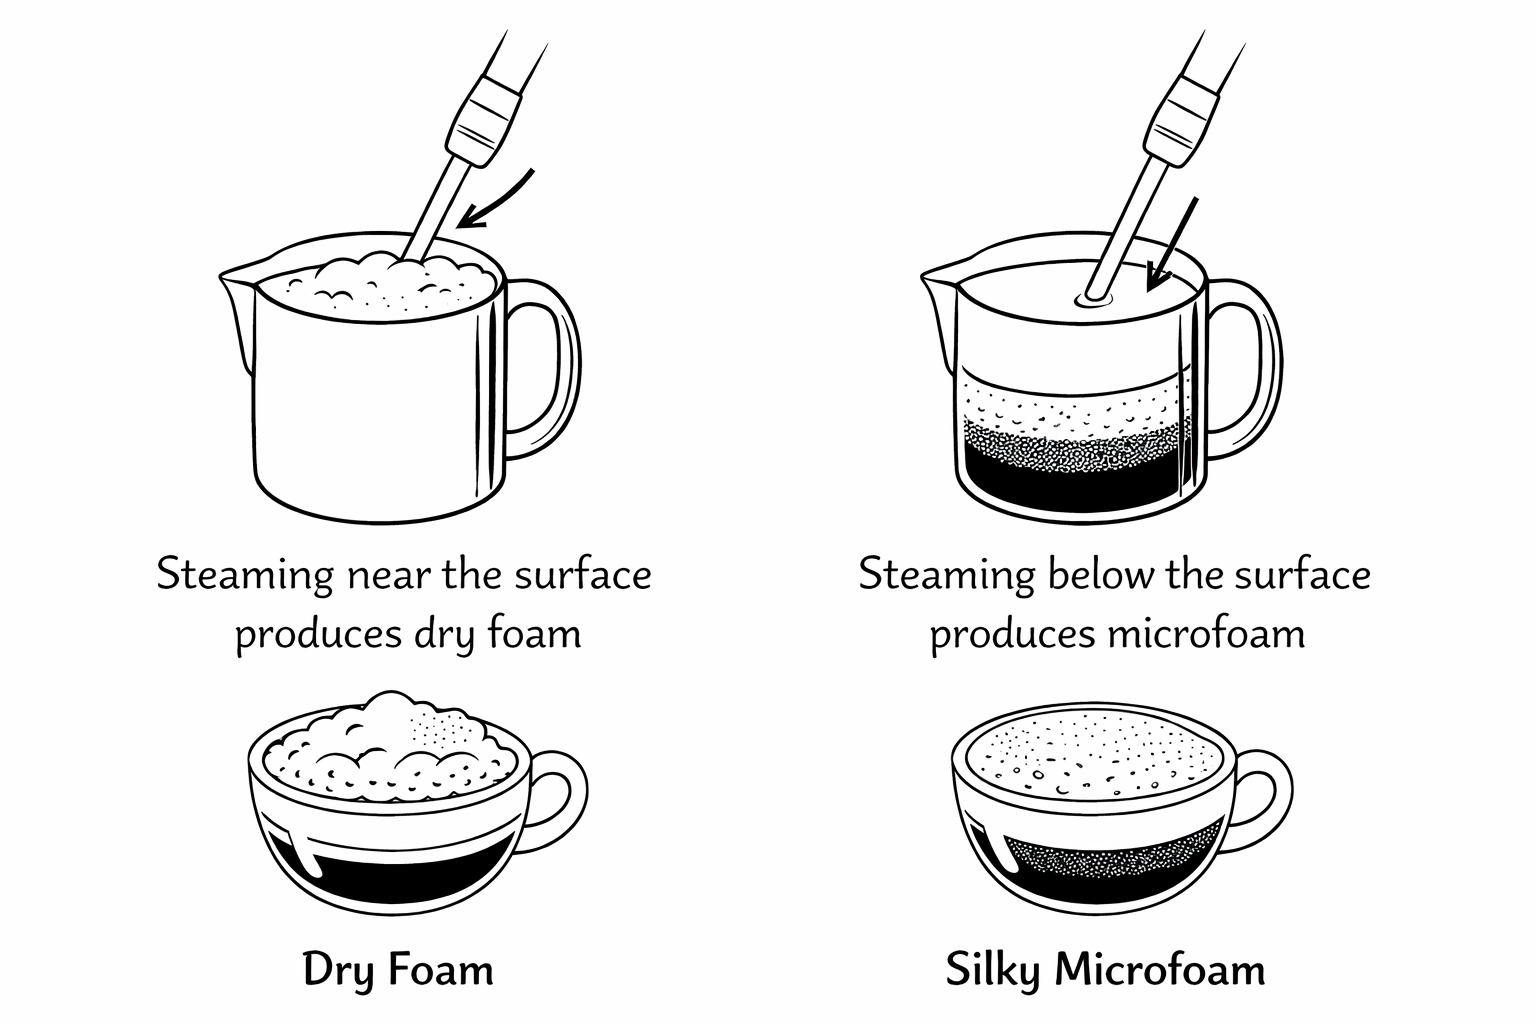
The differentiating term here is microfoam: milk filled with extremely fine, uniform bubbles that give it a glossy, paint-like texture. This is very different from what most people think of as “foam” — a dry, airy layer that separates from the liquid beneath (more like the head on a beer, as shown below).
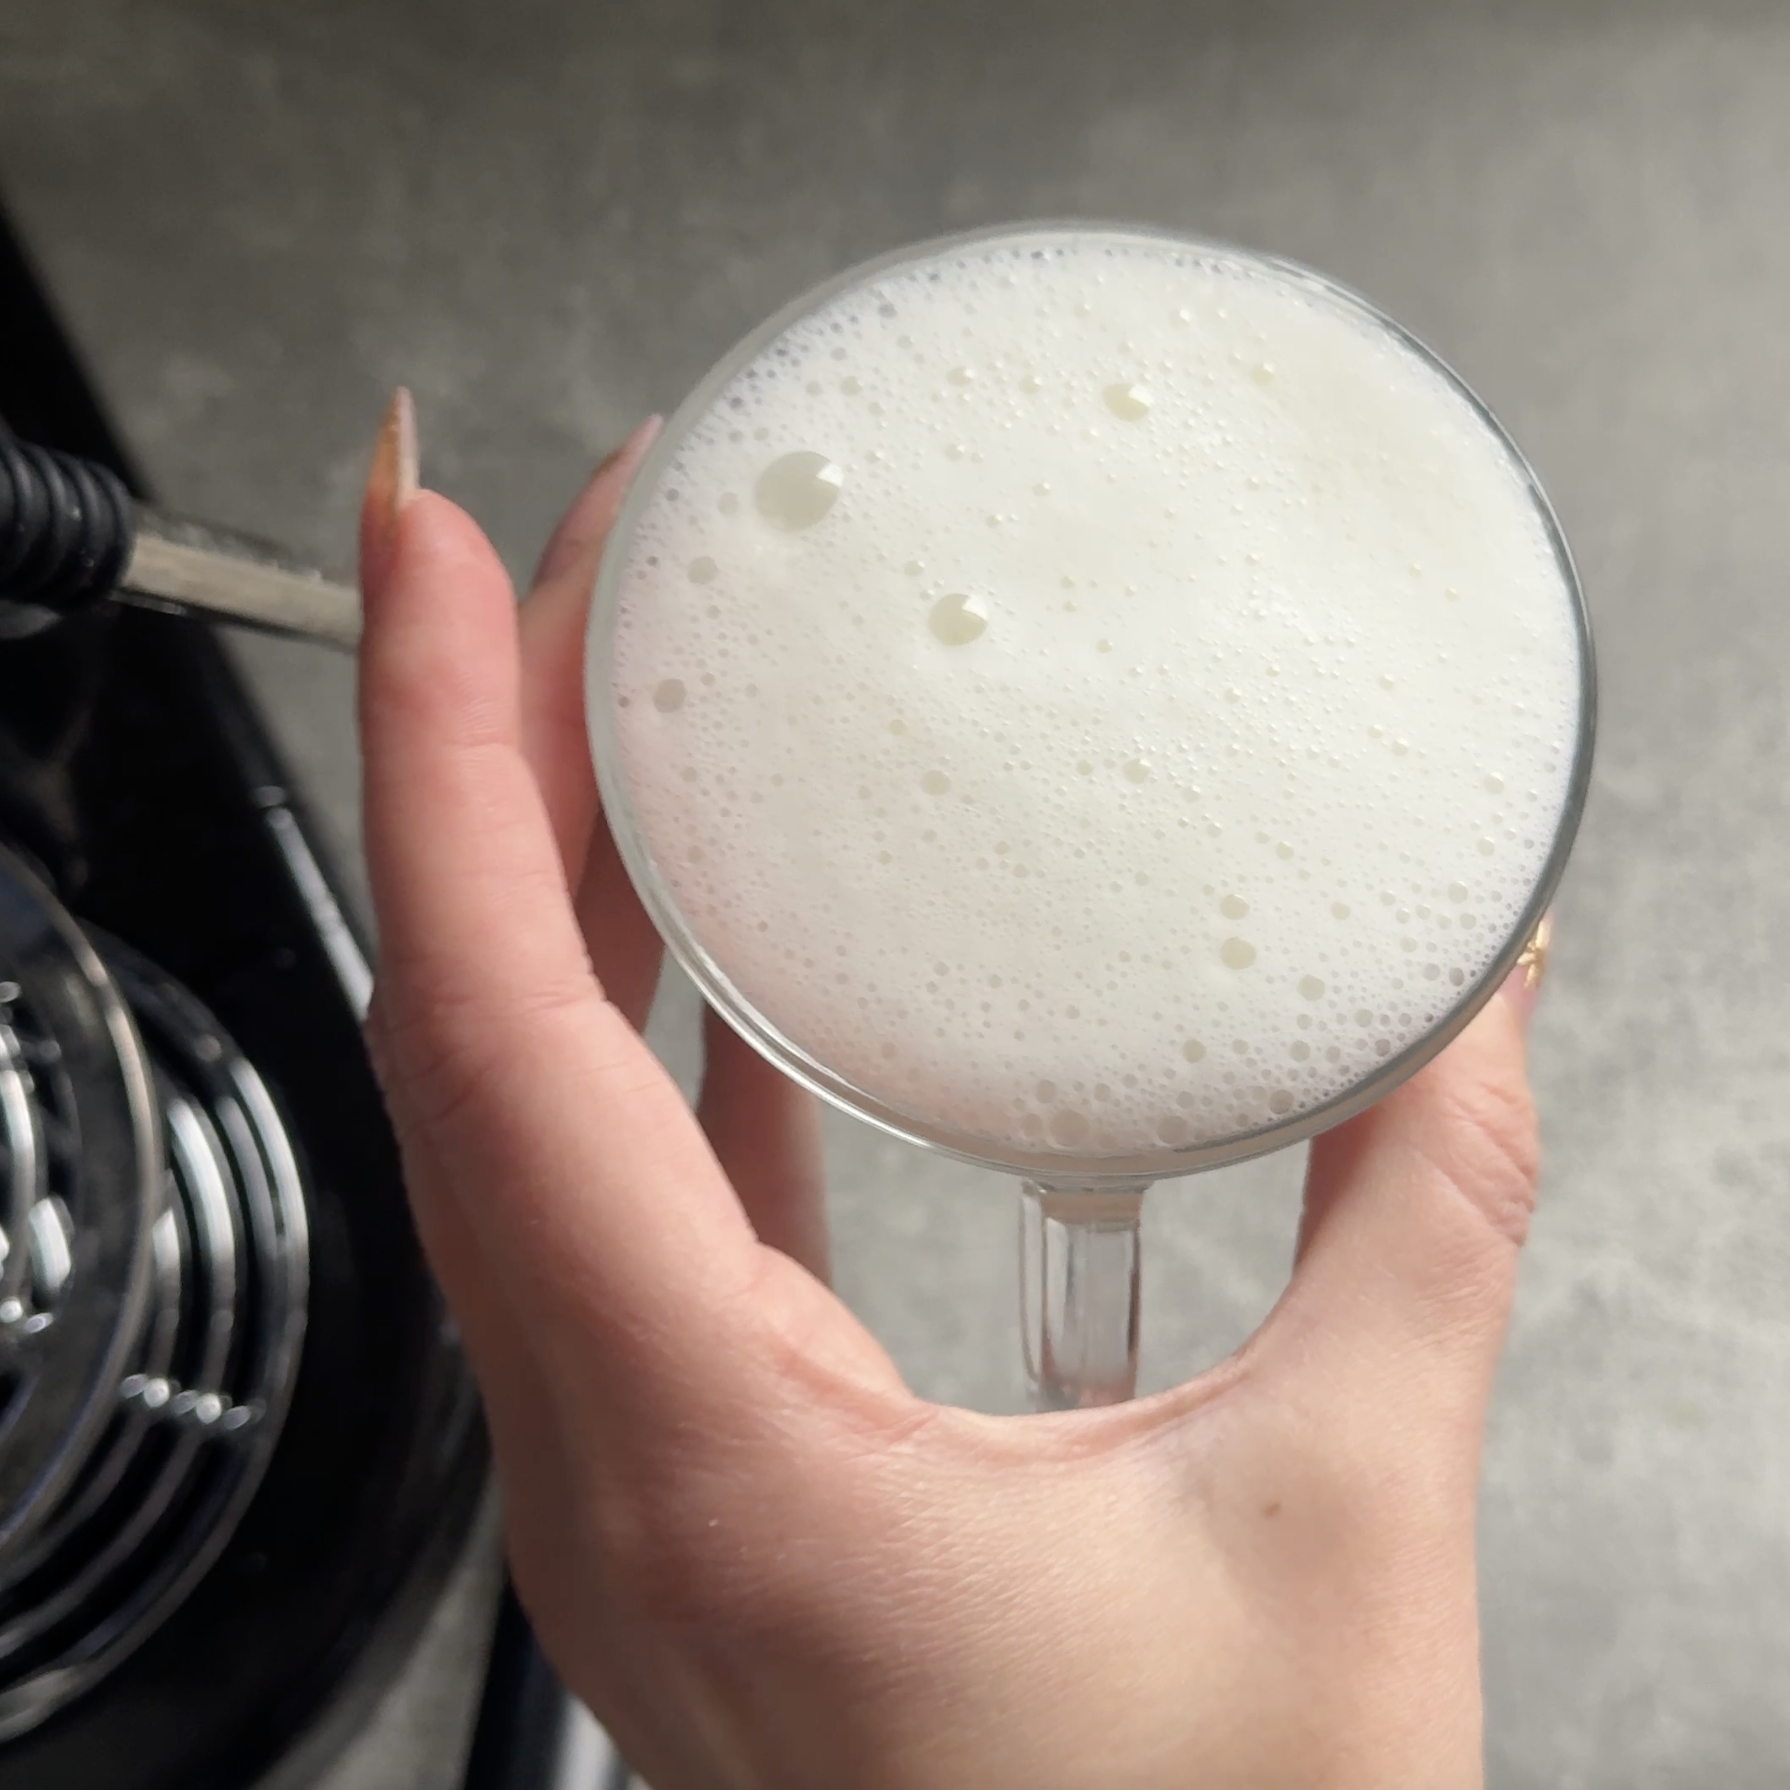
When milk is steamed correctly, it integrates with the espresso into one fluid surface. That’s what allows patterns to form naturally as you pour. With stiff foam, on the other hand, latte art becomes virtually impossible.
Milk choice matters too. Milk foams because of its proteins and sugars — particularly lactose.
Whole milk is the easiest to work with: its higher fat content gives a smoother, more stable texture and more forgiving pouring. Semi-skimmed milk can work well too, though it tends to foam slightly more aggressively. Skimmed milk produces large, dry foam and is harder to control.
Lactose plays an important role in stabilising the foam and contributing to that silky texture. Lactose-free milk can still work, but often behaves differently because the lactose has been broken down into simpler sugars. Which explains why my “soya round” in that competition all those years ago went about as well as my skimmed milk attempt.
Since then, the plant-based market has evolved significantly. “Barista” versions of alternative milks are now formulated specifically for steaming. Oat milk is generally considered the most reliable, likely due to its sugar content — though I’ll admit I quickly returned to dairy after a short experiment when I realised it made no difference to my wellbeing. So… why deny yourself simple pleasures?
If you’re learning and don’t have dietary constraints, start with whole milk. It gives you the best chance of success.
Don’t forget the espresso!
In all this talk of milk and technique, it’s easy to overlook what sits at the heart of it all: the coffee – your canvas.
For latte art, it needs to be a proper espresso base. A drip or French press simply won’t give you the density required. At its core, you’re balancing two liquids of different densities: the milk needs to sit on top of the espresso’s crema to create contrast. If your base is thin, flat or lacking crema, the milk will simply blend in and your pattern won’t emerge.
This is where your machine choice comes in — but it’s not a deal breaker.
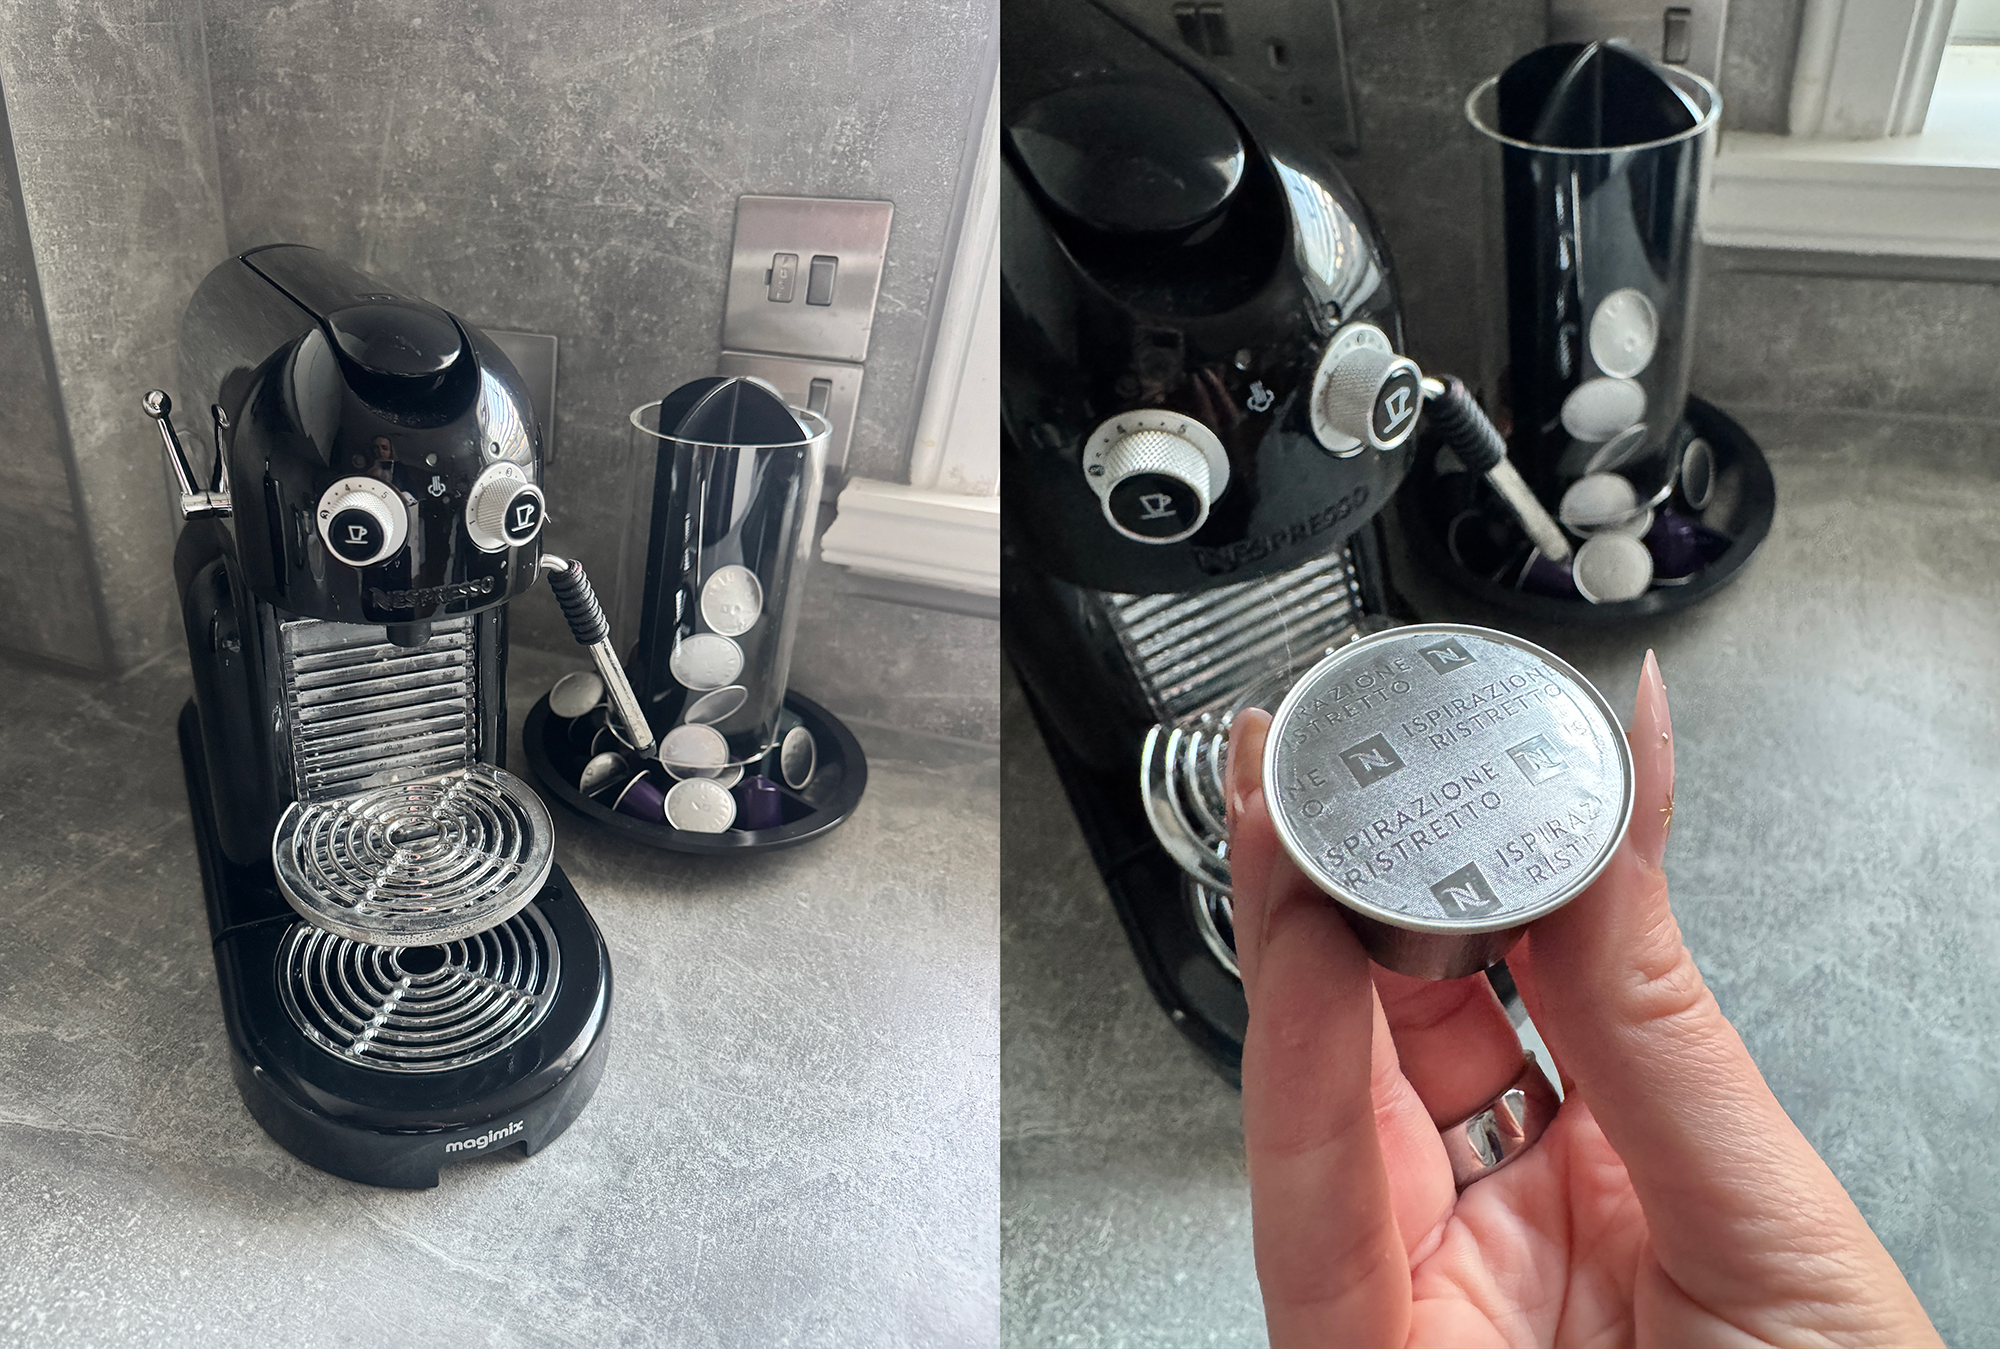
A traditional espresso machine or a domestic bean-to-cup setup will generally give you the best results, particularly with freshly ground beans and a reasonably well dialled-in shot. But good latte art is absolutely possible with pod machines too. I’ve relied on a simple Ristretto from Nespresso for years with consistently good results.
The key is choosing coffee that produces a concentrated shot with some crema. Many pods are designed for longer drinks and will lack the body you need.
Freshness matters just as much. Stale coffee loses structure and crema quickly, making everything harder. That’s why both freshly used beans and hermetically sealed pods can work well – just don’t let either sit around too long.
Your jug matters more than your coffee machine
You don’t need a commercial espresso machine – but you do need the right jug.
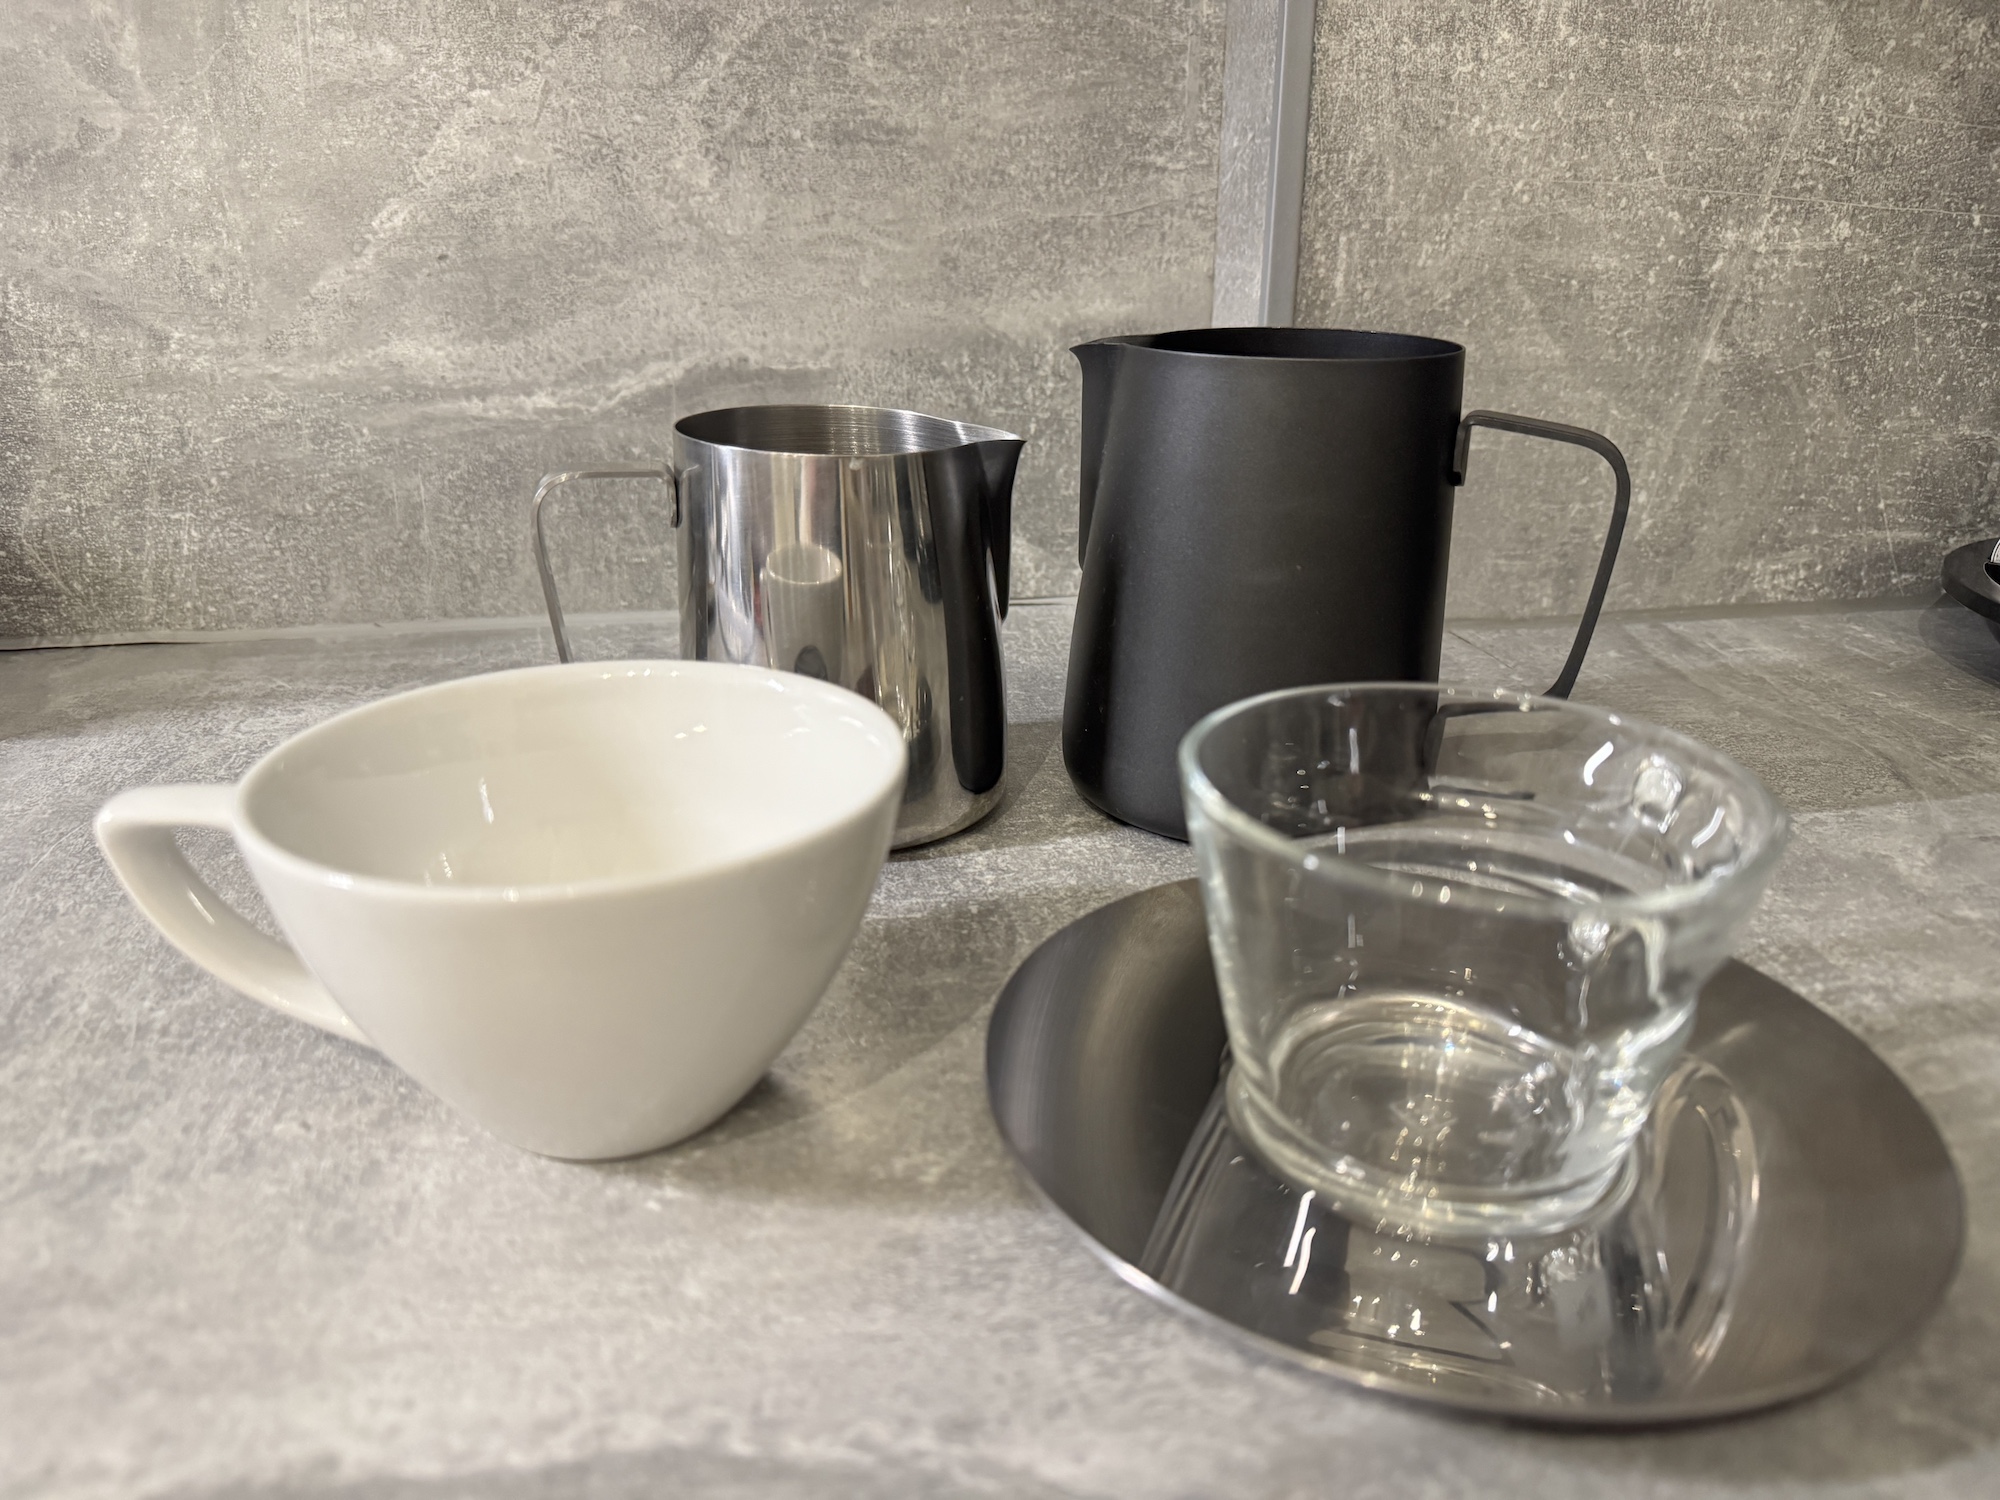
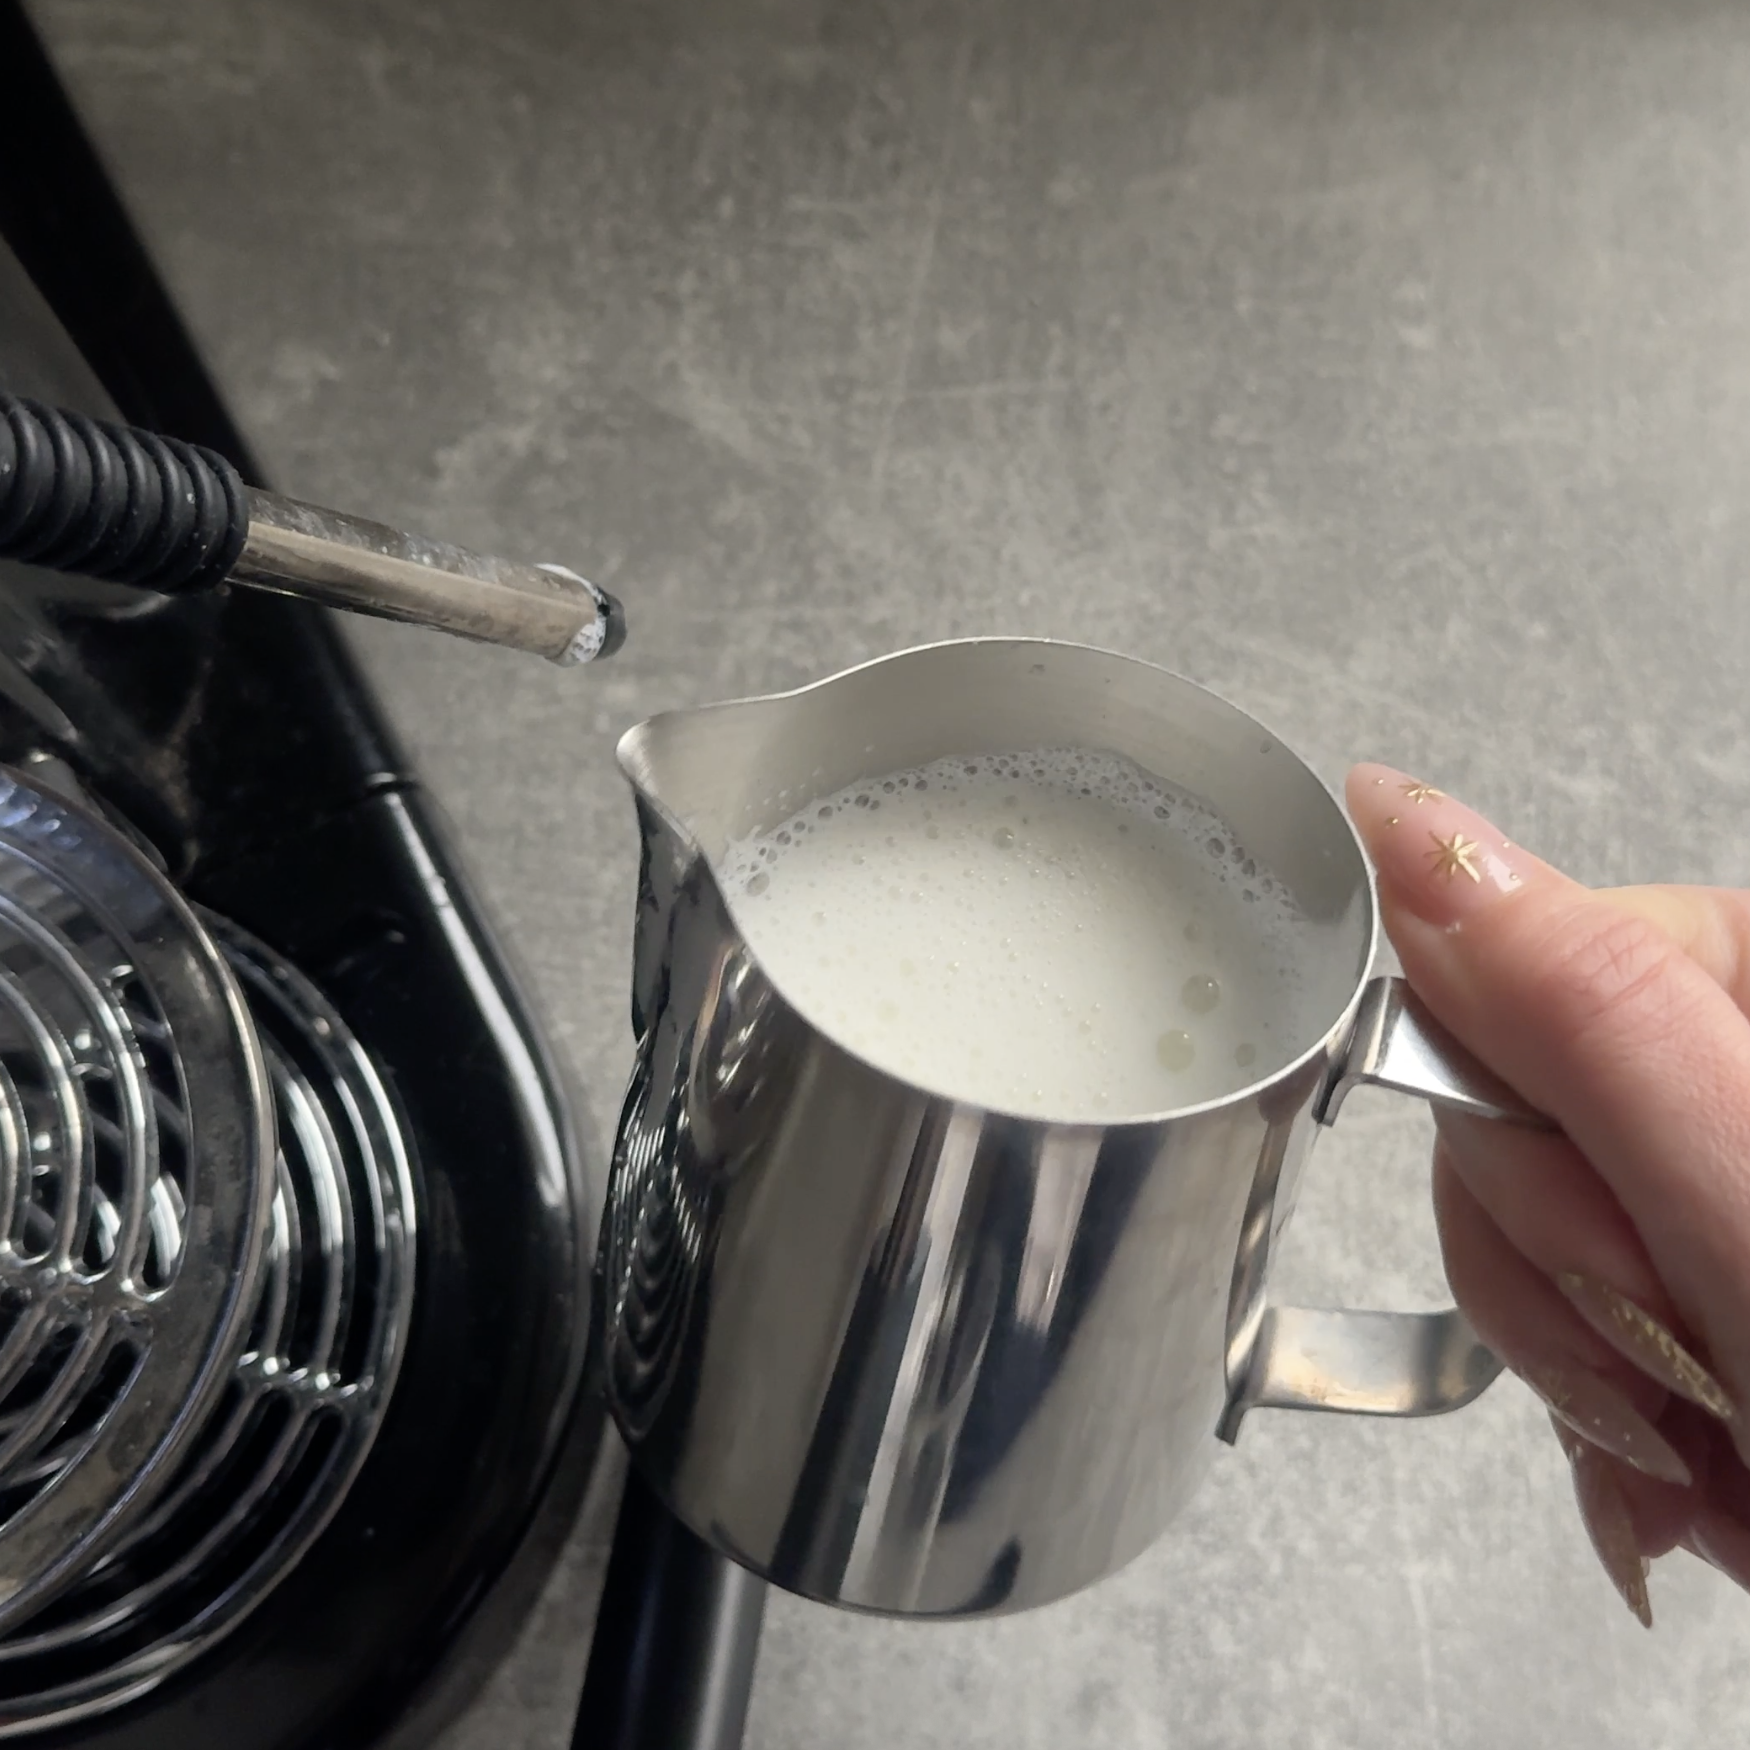
A small stainless steel milk jug with a narrow, defined spout gives you control over the flow of milk. The spout acts almost like a pen tip, allowing you to “draw” on the surface of the coffee.
Jug size matters too. If it’s too large, it becomes difficult to control the milk’s movement. For a single cup, a 300–400ml jug is ideal – and better suited to domestic machines.
The cup plays its part as well.
When the Flat White first appeared in my coffee shop, it came in a conical cup — quite different from the chunky mugs we were used to. It looked elegant, but the shape was intentional. Wider, round cups give the milk room to spread across the surface. Tall, narrow cups restrict movement and make patterns harder to form.
There’s a bit of physics at play here too. As you start pouring, the milk initially travels downwards before deflecting and circulating through the coffee. The quicker it returns to the surface, the sooner you can begin “drawing” — which is why baristas tilt the cup during the pour.
You don’t need an expensive machine
As mentioned, I have been using a Nespresso Maestria for over 10 years. The key requirement is not price or complexity; it’s having a proper steam wand, rather than a milk aerator attachment.
What matters is consistency. A good machine will:
- maintain a steady output of steam for 15–30 seconds
- create a visible vortex in the milk
- heat the milk fully without cutting out
That’s more than enough to produce microfoam.
More powerful or professional machines simply do this faster, more consistently, and at larger volumes — which is why they’re suited to busy environments. At home, you just work one cup at a time.
Technique: where it all comes together
Once you have the right setup, the difference between foam and microfoam comes down to technique.
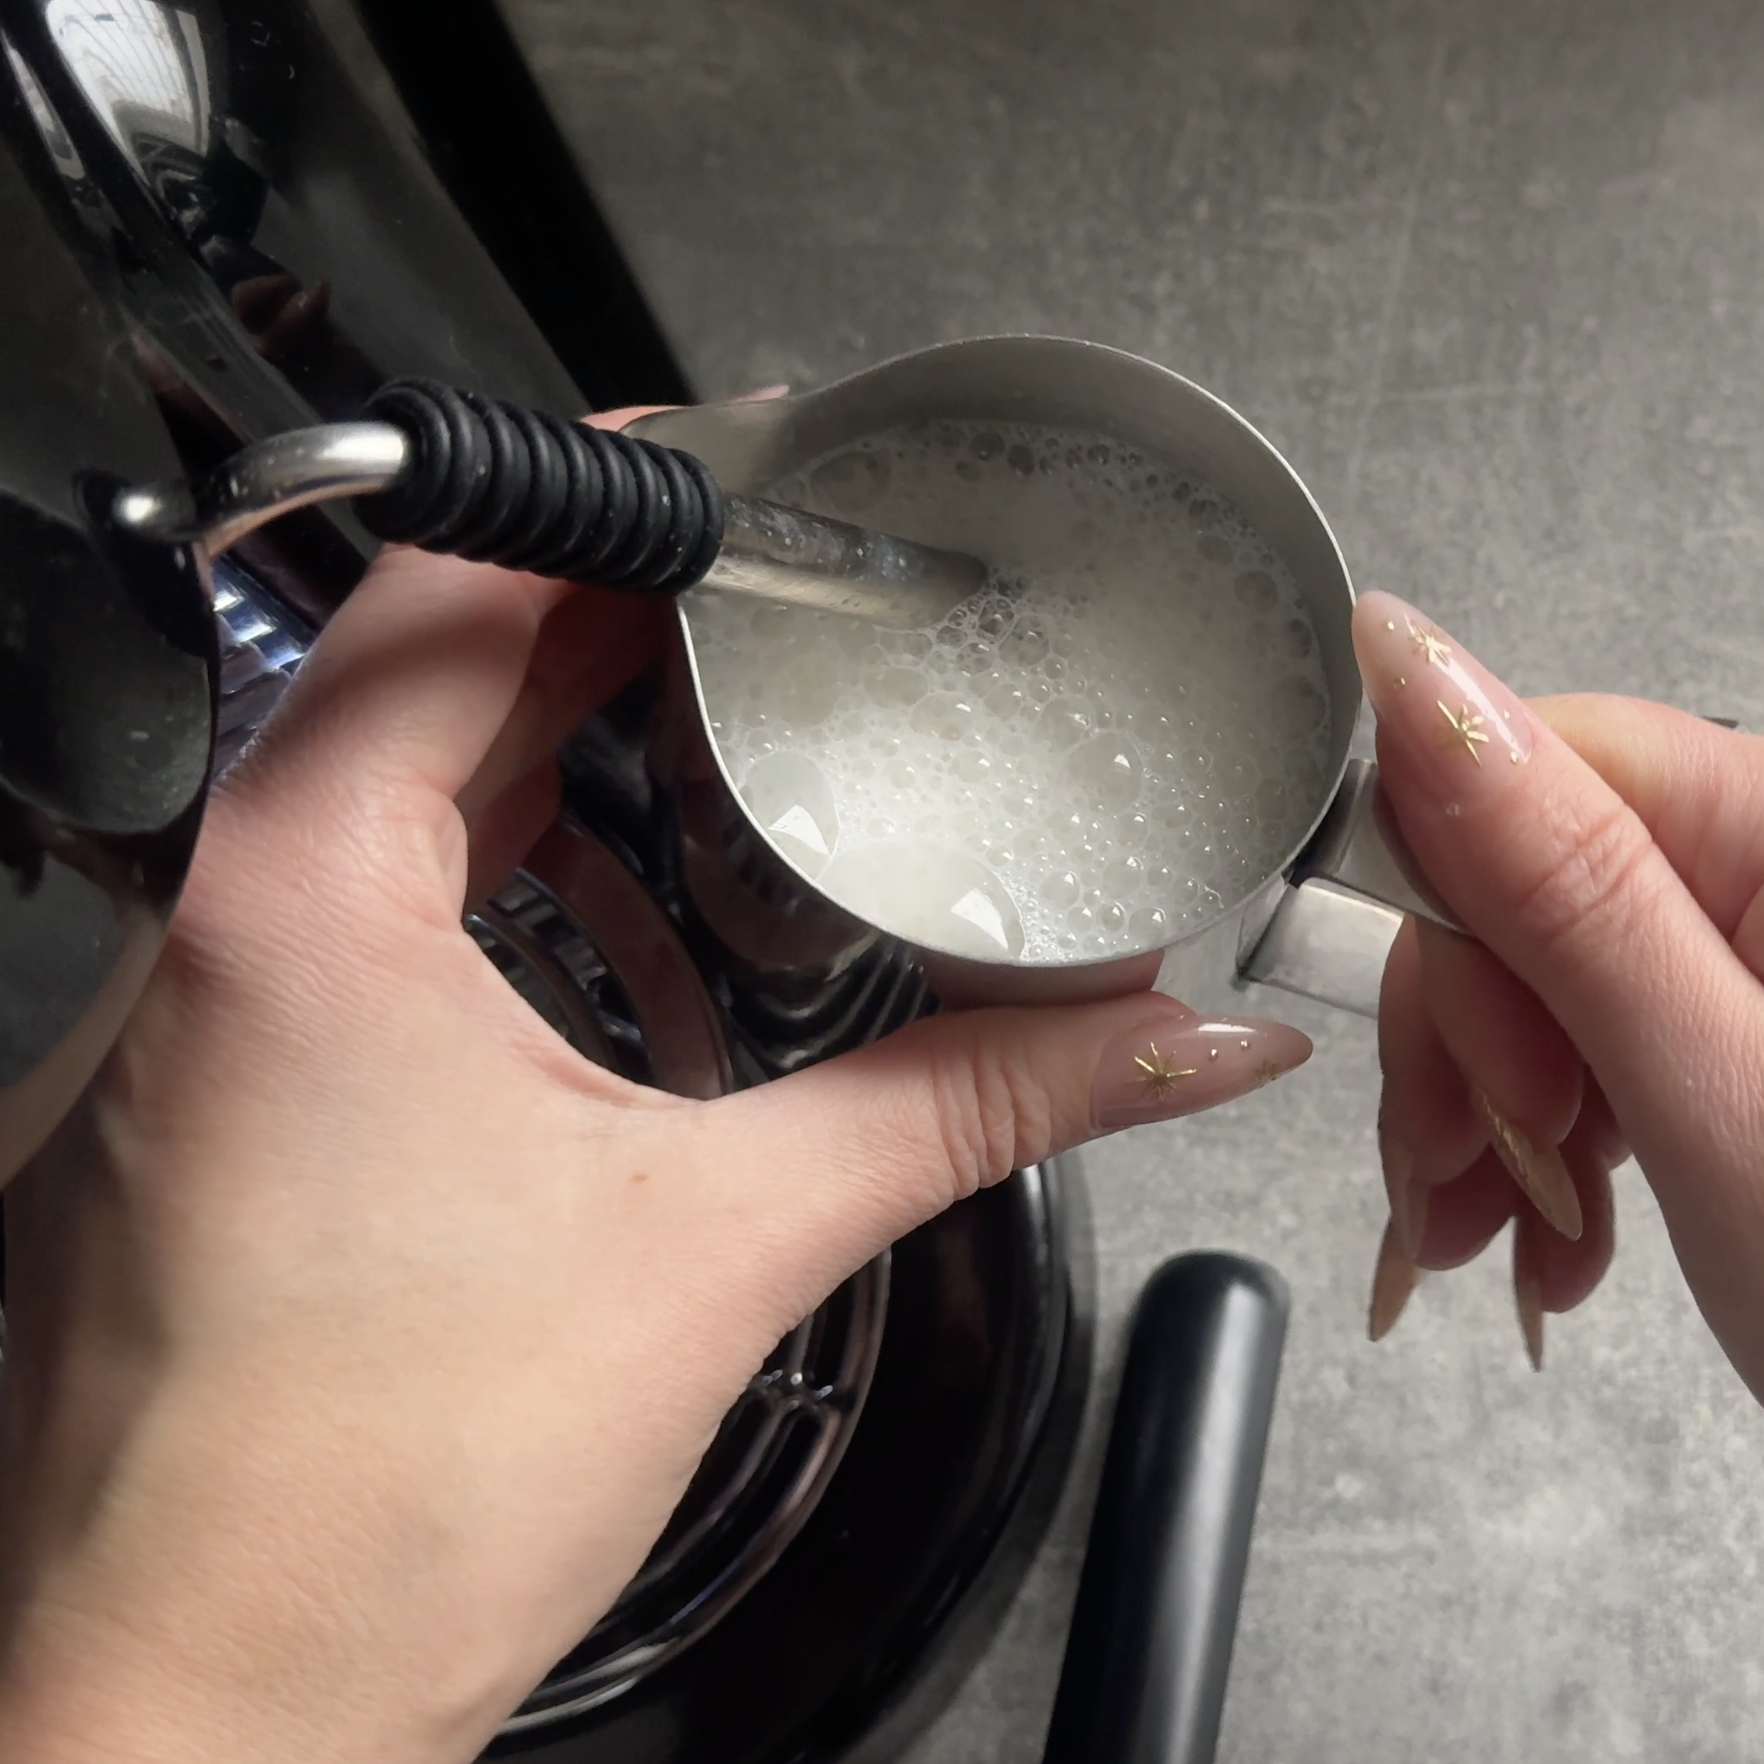
Before steaming, always purge the steam wand to remove any condensed water — otherwise you’ll dilute the milk. I usually do this into the cup I’ll be serving in, which has the added benefit of warming it (just watch for splashing — it’s hot).
The goal when steaming is not to froth the surface, but to create a vortex — a small, controlled cyclone inside the jug. This shows that the entire volume of milk is being engaged, stretched and textured.
This is what integrates the foam into the milk, creating that smooth, glossy consistency needed for latte art.
How do you actually achieve that?
I’ll walk you through it step-by-step in Part 2.
A few additional dos and don’ts:
- Use chilled milk — it gives you more time to incorporate air before reaching the ideal temperature (60–65°C), allowing for better control
- Rinse your jug between uses — leftover milk residue will ruin your texture
- Clean the steam wand thoroughly — both for hygiene and to maintain proper pressure and performance
